Contact Form 7 is one of the most used forms on WordPress websites to easily communicate with others. WordPress Contact Form 7 plugin may be the solution you are looking for. As one of the most user-friendly tools available in the WordPress toolkit, it is designed to easily bridge the communication gap between you and your visitors.
Contact Form 7 is an easily customizable form. Contact Form 7 stands out as a free WordPress plugin that offers you the ability to generate various contact forms for your website. It allows users to easily create and manage multiple contact forms and customize them with simple markup as per their choice.
Even better, this plugin doesn’t cost a penny, and it simplifies the process of adding your contact form to any post, page, or widget area by providing a custom shortcode for each form you create.Contact Form 7 stands out among all contact form plugins due to its simplicity. This form is mostly used in WordPress.
Highlight its standout features:
• Multiple Contact Forms
• Customizable Forms
• Ajax-Powered Contact Form
7 Submissions
• CAPTCHA Integration
• Akismet Anti-Spam
• Form Tag Syntax
• Customizable Mail Template
• File Upload Support
• Localized Translations
This contact form can be created for free at no cost and can be customized as needed. Contact forms provide a clear, convenient, and organized way for your visitors to connect with you while keeping your communication secure and professional. Contact Form 7 WordPress does a great job of giving website owners the flexibility to easily create contact forms. Here are some reasons why Contact Form 7 should be chosen:
Why Choose Contact Form 7:
1.Customizable : Easily configure your forms using available parameters or apply CSS for a personal touch.
2.Cost-free : No premium version means no distracting upsells in the main dashboard, providing a clutter-free experience.
3.Theme Compatibility : Enjoy extensive compatibility with both free and premium themes, ensuring your contact forms remain functional even if you change your website’s theme.
To install Contact Form 7, you need to follow these steps:
• Go to your WordPress Dashboard
• Select Plugins > Add New
• Search for Contact Form 7
• Install and Activate the plugin
• Once installed, you can see the “Contact” menu on your dashboard.
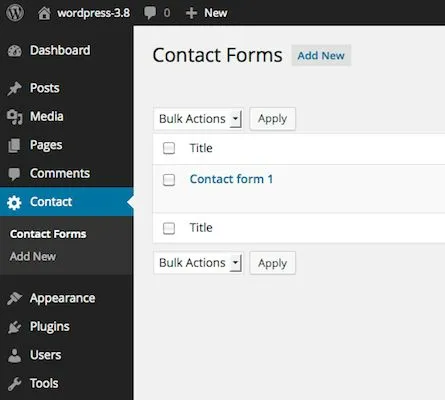
Contact Form 7 is a powerhouse when it comes to WordPress form plugins, offering users a rich array of settings to fine-tune their contact forms. At the heart of its configurations, you have the ability to design custom forms and integrate various form tags like text, email, URL, and more.When you install the contact form 7, you get a dummy form. You can access this by following these steps:
• Go to your WordPress Dashboard
• Select Contact > Contact Forms
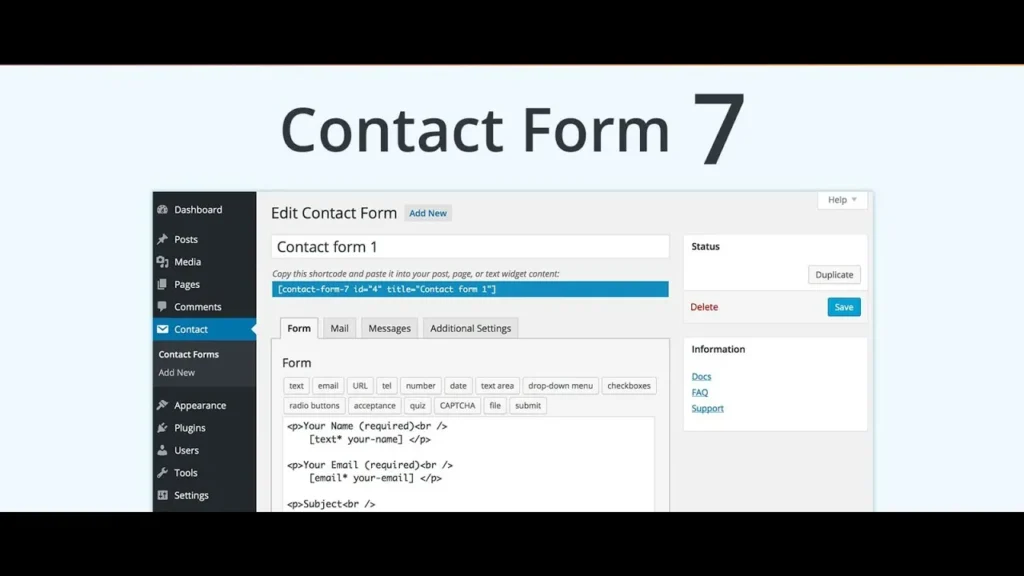
Next, I will explain each setting in detail:
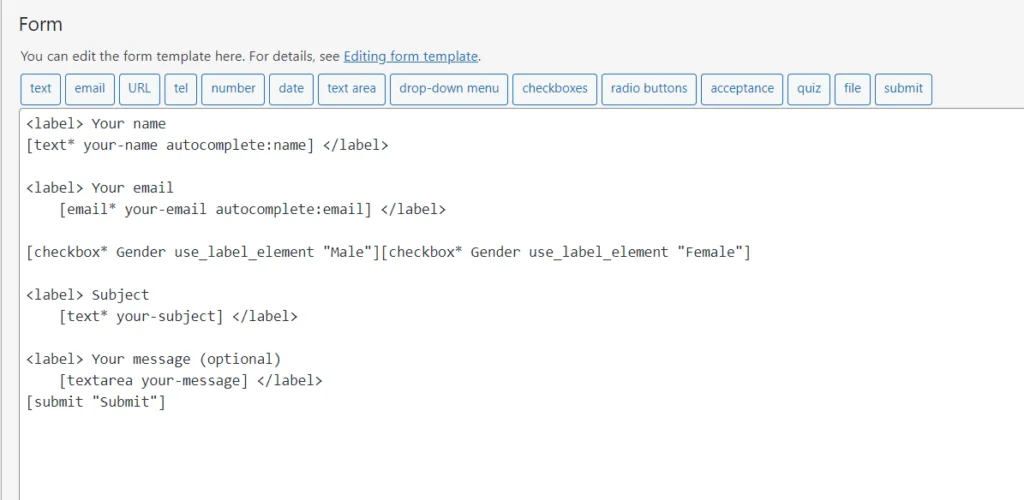
• Form : The Form tab has a built-in template that you can use. You also can edit the template as per your needs.
• Mail : It allows you to decide the flow of email notifications once the form is submitted, ensuring you never miss a message.
• Messages : It lets you tailor the auto-responses and validation messages your visitors receive.
• Additional Settings : With its advanced settings, you can combat spam using the ‘Quiz’ feature or even integrate CAPTCHA for added security.
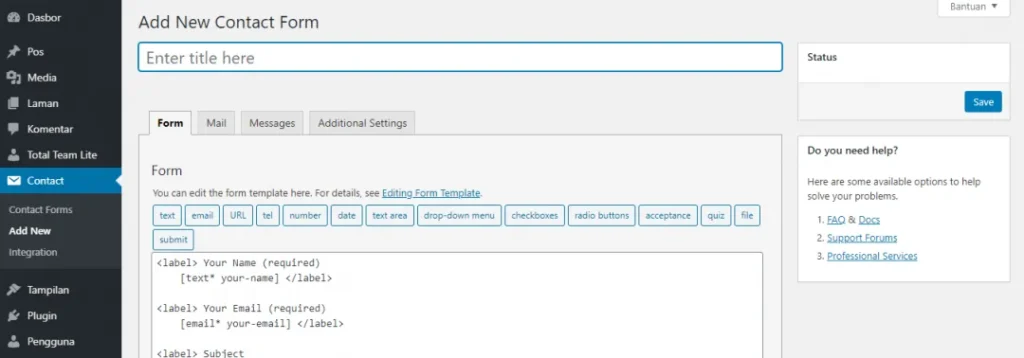
Now that you have explored the features of WordPress Contact Form, I will tell you how you can create your customized Contact Form. To do that:
• Go to the Contact tab on your WordPress dashboard and click “Add New”.
• Name your contact form. I am going to name mine “Cloudways Contact Form”.
• Once done, click save.
• Before starting the customization process, I will first explain the different form tags you’d find in Contact Form 7.
Contact Form 7’s form tags are integral to how the plugin functions. These form tags act as short codes, and when placed in the form editor, they generate specific form elements for your contact form.
Users can choose their preferred form field type, configure it, and effortlessly insert the generated form tag into their form.
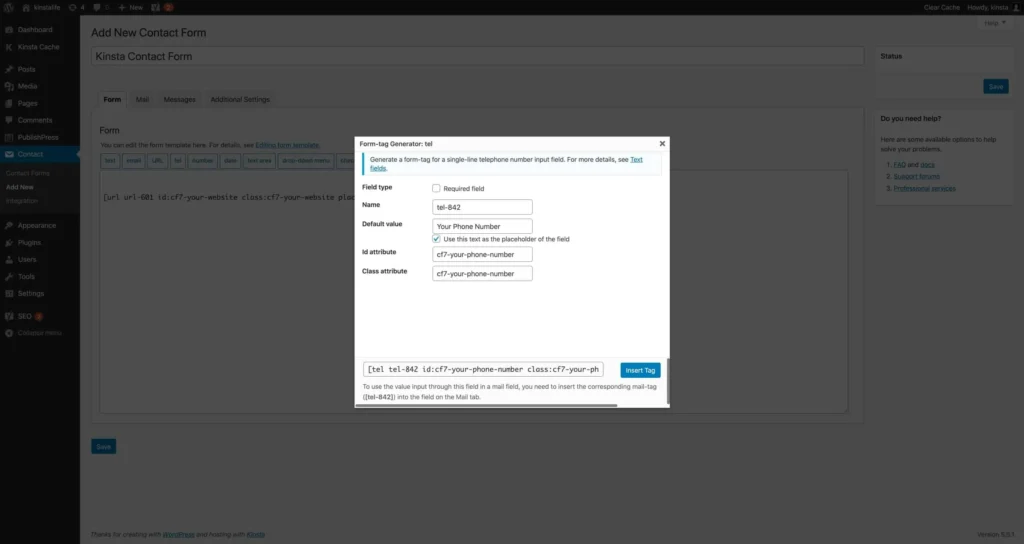
The text form tag in Contact Form 7 creates a single-line text input field in your form. This form tag is ideal when you need users to provide concise text, such as their name or a subject.
• To use this, click on Text, and the pop-up will appear.
Here are the fields you’d find in the text form tag in Contact Form 7:• Field Type : Checkmark this option if a field in your form is a required field.• Name : This is a unique identifier for the form field. This name is used to capture and subsequently process the data. For example, in [text your-name], “your-name” is the identifier.• Default Value (Optional) : When the form loads, you can set a default value that will appear in the text field. This is done using the default option followed by the desired value. For example:• [text your-name default: “Ram Patel”]• ID and Class Attributes (Optional) : You can assign ID and class attributes to the text field for more advanced customization, especially when dealing with CSS styling or JavaScript interaction. This is done using the id and class options, respectively.
• Now click on insert tag. This will add the form tag to the contact form template.
Sometimes, you don’t like the placement of tags within the contact form. That’s where you would want to restructure your form. It is very simple.You need to insert the tags in the order you want them. Below I’ll share two examples with you to make it easier for you to understand.
Sample 1:
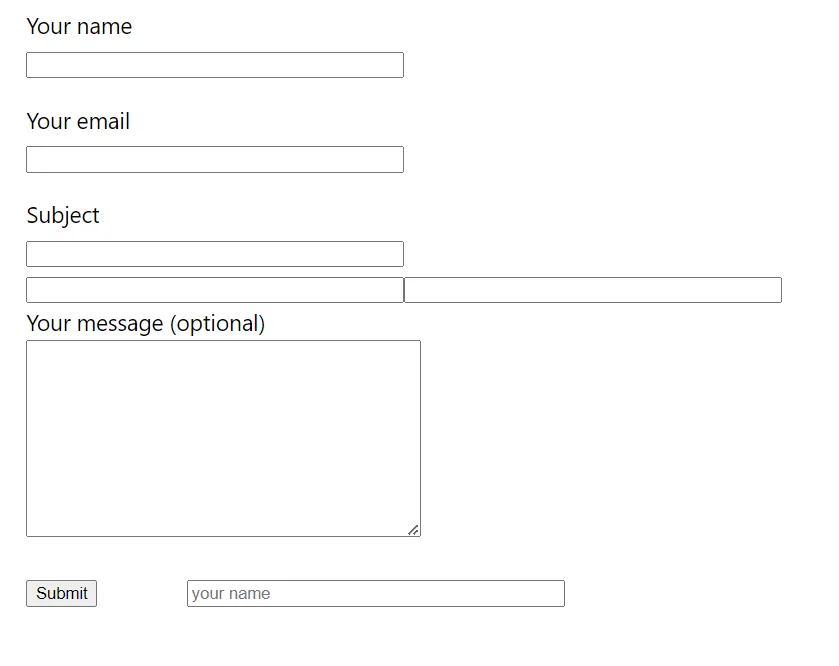
I want the form labels to appear in the following format:
• Name
• Email
• Checkbox
• Subject
• Message
• Submit button
To achieve this, I will place the form tags in the same order.
For the above code, this is the result
As mentioned in this review, the two main free alternatives to Contact Form 7 are Ninja Forms and WPForms.The free versions of these plugins make it much easier to create online forms than Contact Form 7, while also including a few more features, such as the ability to store and view form entries in the WordPress dashboard, as is the case with Ninja Forms and the email marketing software integration functionality of WPForms.
As well as the freemium Ninja Forms and WPForms, Gravity Forms is a very popular premium-only WordPress forms plugin that’s worth considering, and is an option you can find out more about in our recent Gravity Forms Review.
One of the main things Contact Form 7 has going for it is that it comes with a ready-made form that you can insert into your pages relatively quickly. However, now that Ninja Forms also comes with a pre-made contact form, while also adding a button to the WordPress editor, not to mention its drag-and-drop interface and ability to store form submissions in your WordPress dashboard, it’s much easier to recommend than Contact Form 7.
So, if you want to do more than use the default form from Contact Form 7, or you think you may want to in the future, it’s best to check out some of the other popular online form plugins available today.